

How Long Does a Pool Remodel Take? Florida Remodeling Timeline (2026 Guide)
One of the first questions homeowners ask after deciding to renovate their pool is, "How long will it take?"
The answer depends on several factors, including the scope of work, the condition of the existing pool, material availability, weather conditions, and whether unexpected repairs are discovered during demolition.
While a simple pool resurfacing project may take only a couple of days, a complete pool remodel that includes new tile, coping, decking, equipment upgrades, or structural repairs naturally requires more time.
The good news is that understanding the remodeling process makes it much easier to plan your project and know what to expect from start to finish.
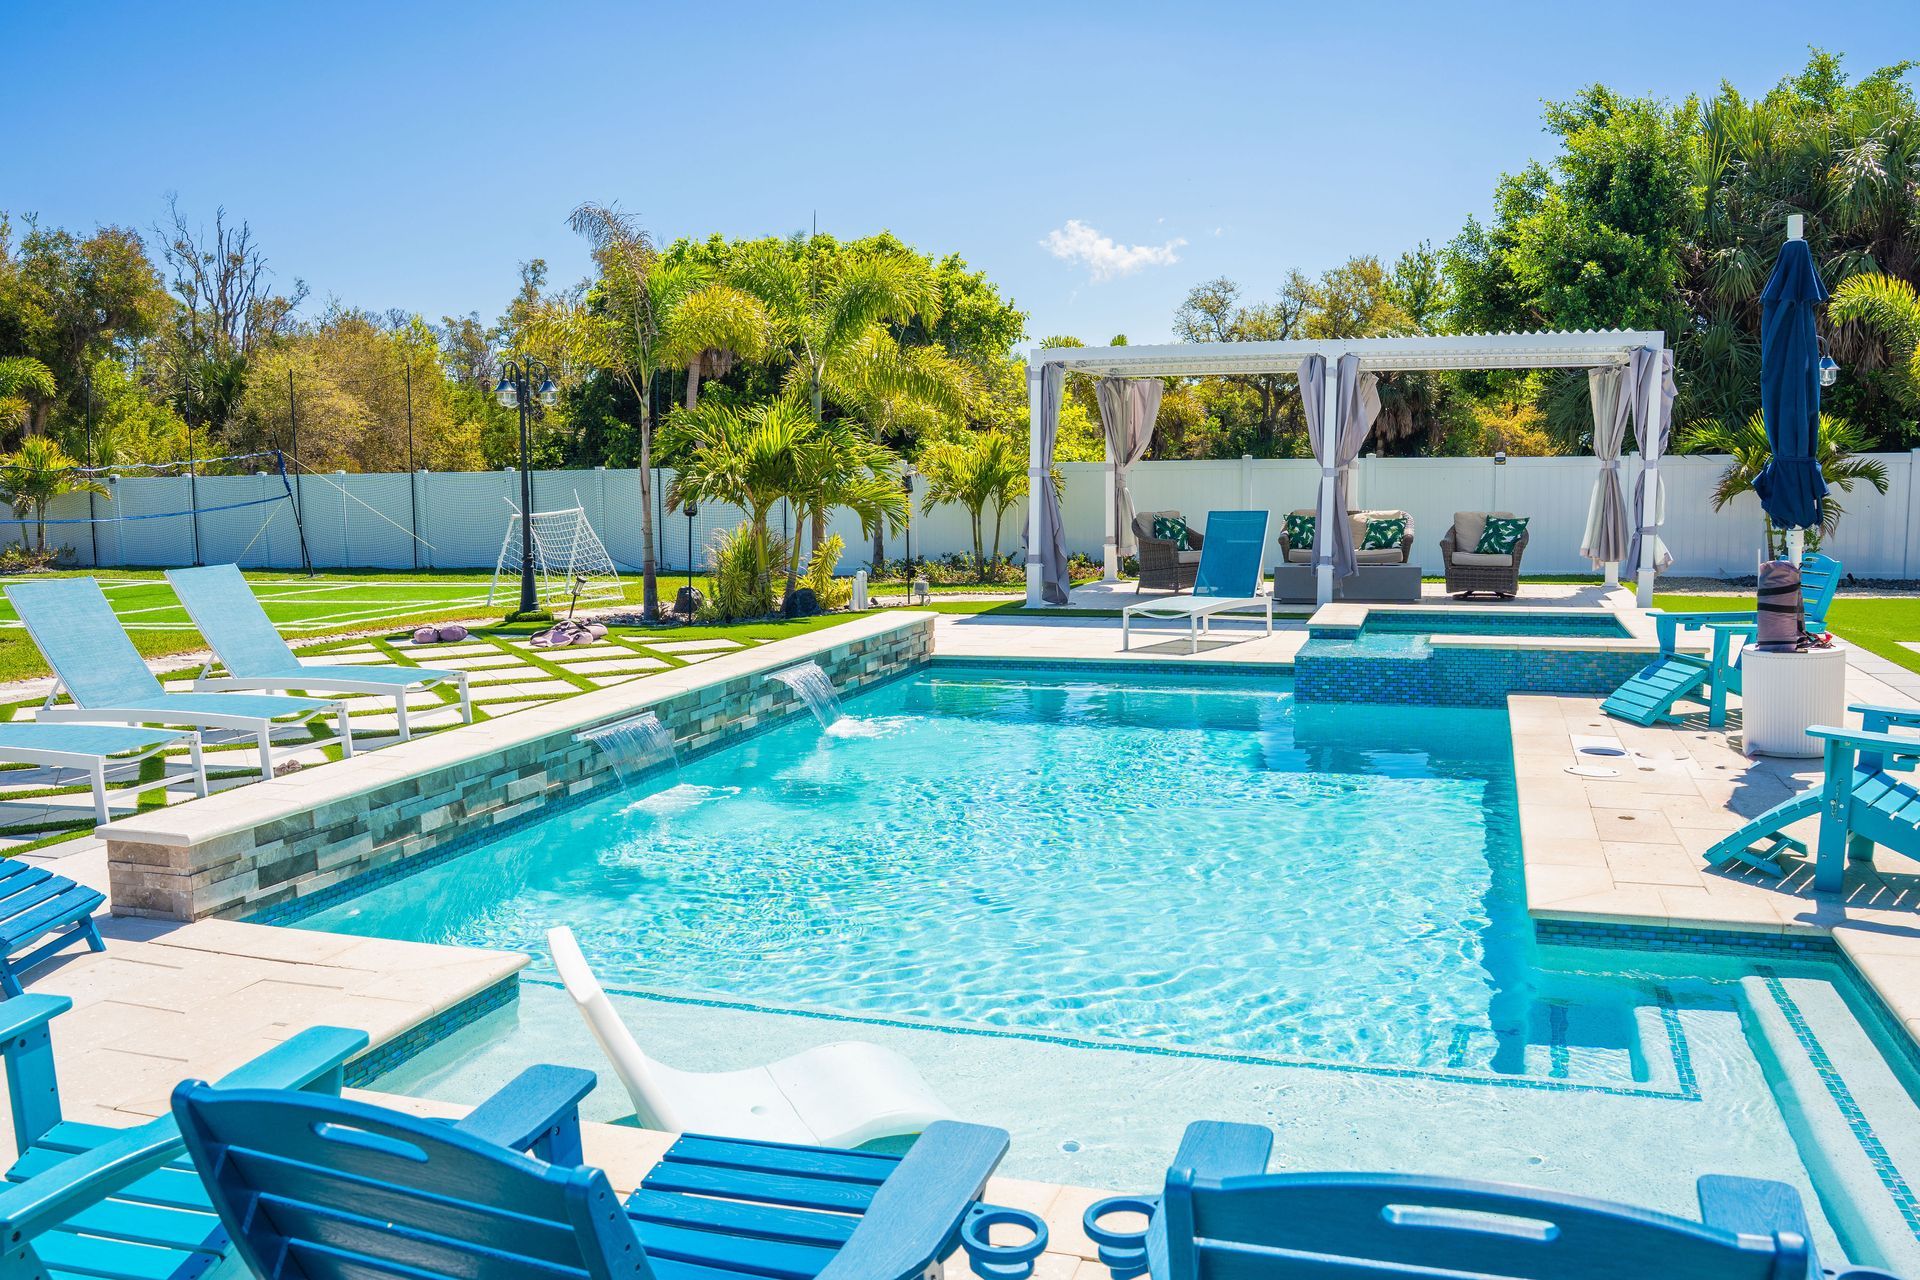
In this guide, we'll explain the typical pool remodeling timeline in Florida, what happens during each phase of the pool renovation, what can delay a project, and how homeowners can help keep everything on schedule.
Average Pool Remodeling Timeline in Florida

What Happens During a Pool Remodel?
A successful pool renovation isn't completed in just one step. It's a series of carefully planned phases that build on one another. Understanding each stage helps homeowners know what to expect throughout the project.

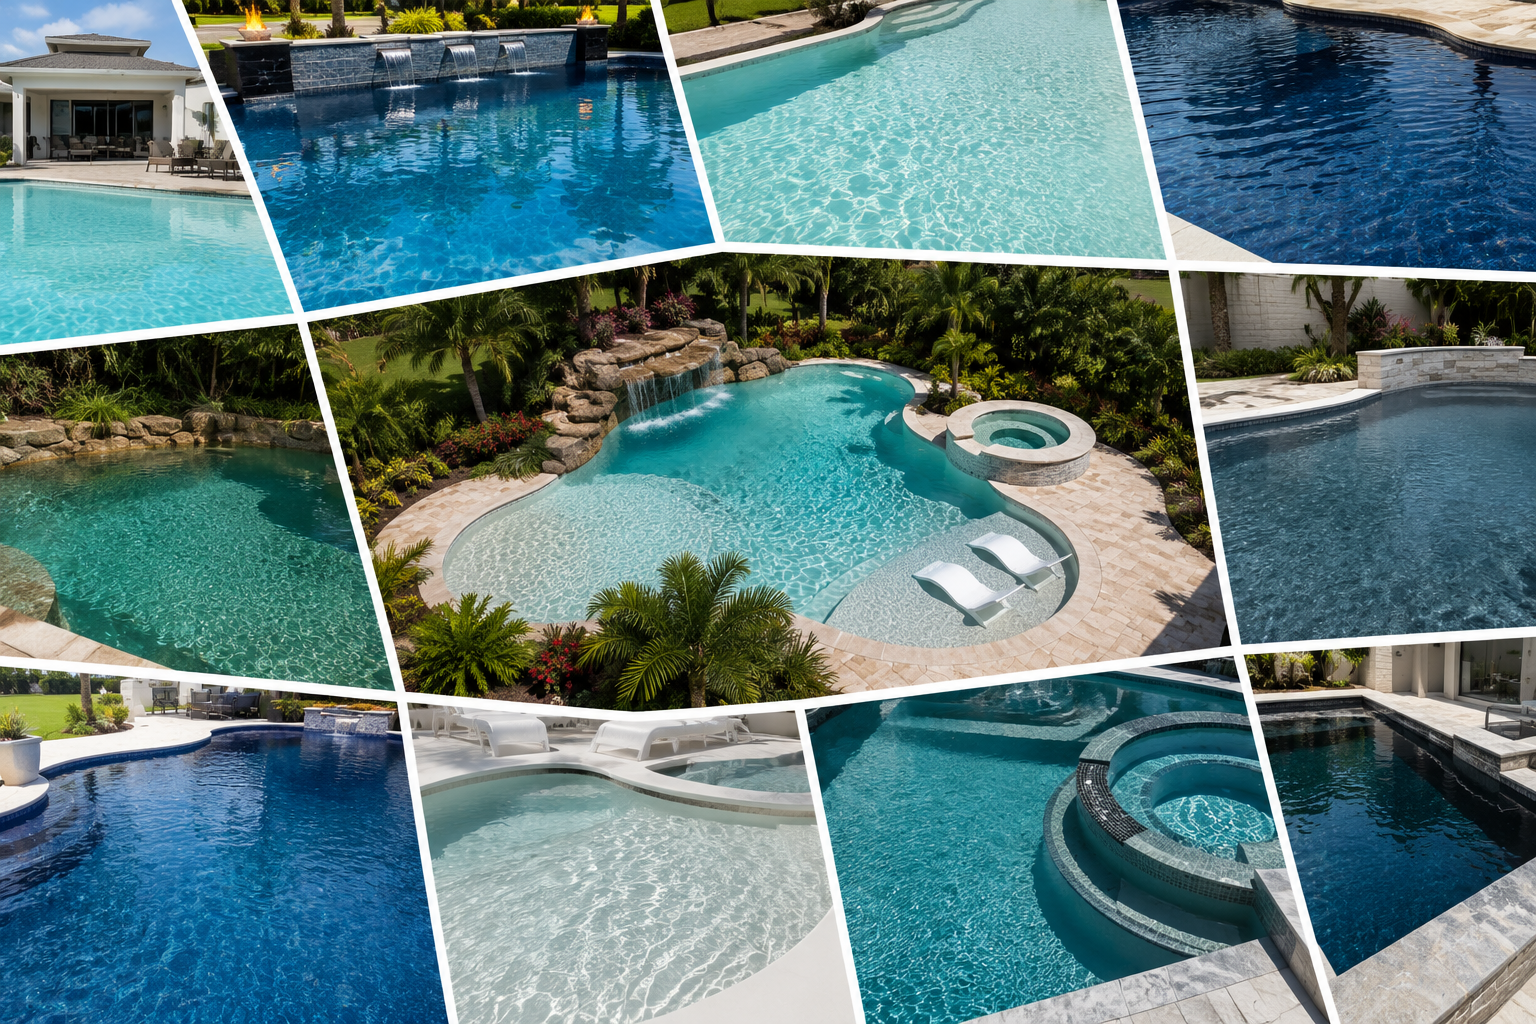
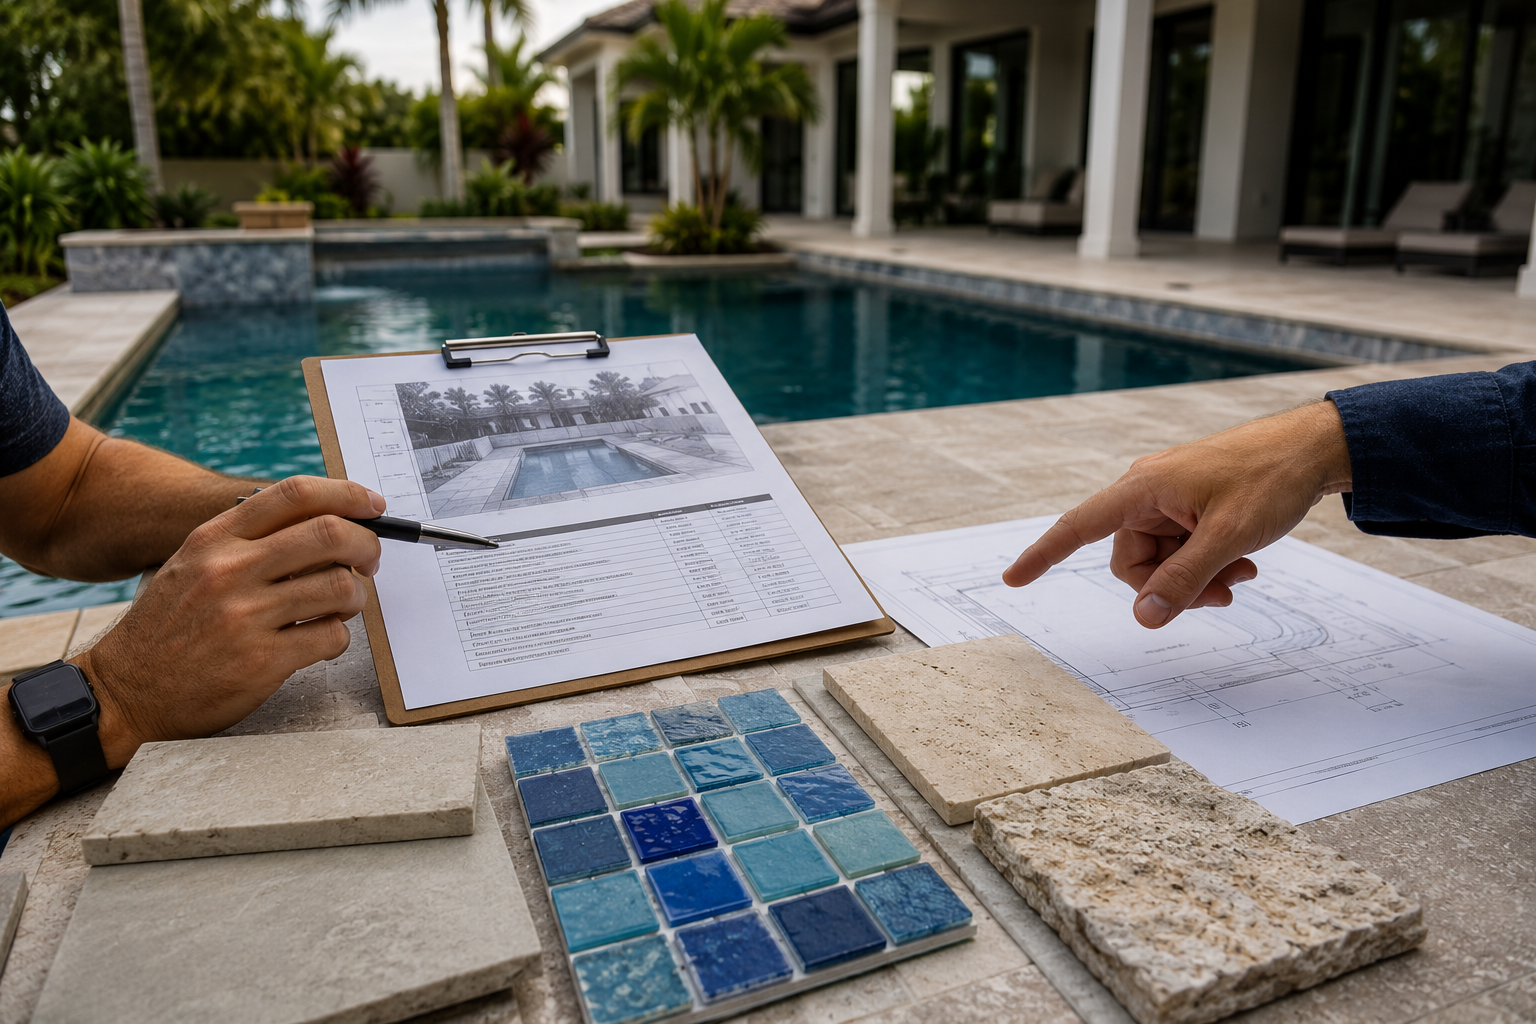
Step 1. Design, Planning & Material Selection
Estimated Time: 3–10 Days
Every successful pool remodel begins with planning.
During this stage, homeowners work with their contractor to determine exactly how the finished pool will look and function.
Typical decisions include:
- Interior pool finish
- Waterline tile
- Coping material
- Pool deck finish
This is also the best time to discuss your budget and prioritize upgrades that will provide the greatest long-term value.
Many homeowners choose premium interior finishes from manufacturers like Florida Stucco or StoneScapes, while others upgrade to glass tile, marble coping, porcelain coping, or decorative concrete overlays to modernize the appearance of the entire backyard.
Step 2. Ordering Materials
Estimated Time: 1–3 Weeks
Once materials have been selected, everything must be ordered before construction begins.
Although many standard products are readily available, specialty materials sometimes require additional lead time.
Examples include:
- Imported glass tile
- Premium porcelain tile
- Marble coping
- Specialty pool finishes
- Custom water features
Supply chain conditions and manufacturer inventory can affect delivery times, so ordering materials as early as possible helps keep the project moving.
Your contractor should also verify that all selected materials arrive before major demolition begins whenever possible.
Step 3. Draining the Pool & Demolition
Estimated Time: 2–5 Days
Once all materials are ready, the physical renovation begins.
The pool is first drained so demolition work can safely take place.
Depending on the scope of the project, demolition may include:
- Removing the existing plaster
- Removing old waterline tile
- Removing coping
- Demolishing damaged decking
- Removing outdated equipment
One of the most important parts of this phase is evaluating the condition of the existing pool shell.
Some pools only require minor surface preparation, while others may require a full chip-out before the new finish can be installed.
A full chip-out removes the existing interior finish down to solid gunite or concrete, creating the strongest possible bonding surface for the new plaster, quartz, or pebble finish.
Although not every pool requires a full chip-out, this process is significantly more labor-intensive than basic surface preparation and can increase the renovation cost depending on the size and condition of the pool.
Step 4. Structural Repairs (If Needed)
Estimated Time: 1–5 Days
One reason remodeling timelines can vary is that some issues aren't visible until demolition is complete.
Once the old plaster, tile, or coping has been removed, contractors can fully inspect the pool structure.
Occasionally, hidden problems are discovered that should be repaired before moving forward with the renovation.
These may include:
- Hollow plaster
- Delaminated surfaces
- Bond beam deterioration
- Cracked steps
- Damaged swim-out benches
- Minor structural cracks
- Plumbing leaks behind the shell
Although homeowners are sometimes surprised when additional repairs are recommended, addressing these issues before the renovation continues helps extend the lifespan of the new pool finish and reduces the risk of more costly problems in the future.
Step 5. Installing New Tile & Coping
Estimated Time: 3–6 Days
After the pool structure has been properly prepared, it's time to begin installing the new decorative finishes.
This phase typically includes replacing the waterline tile and installing the selected coping around the perimeter of the pool.
Popular tile options include:
- Porcelain tile
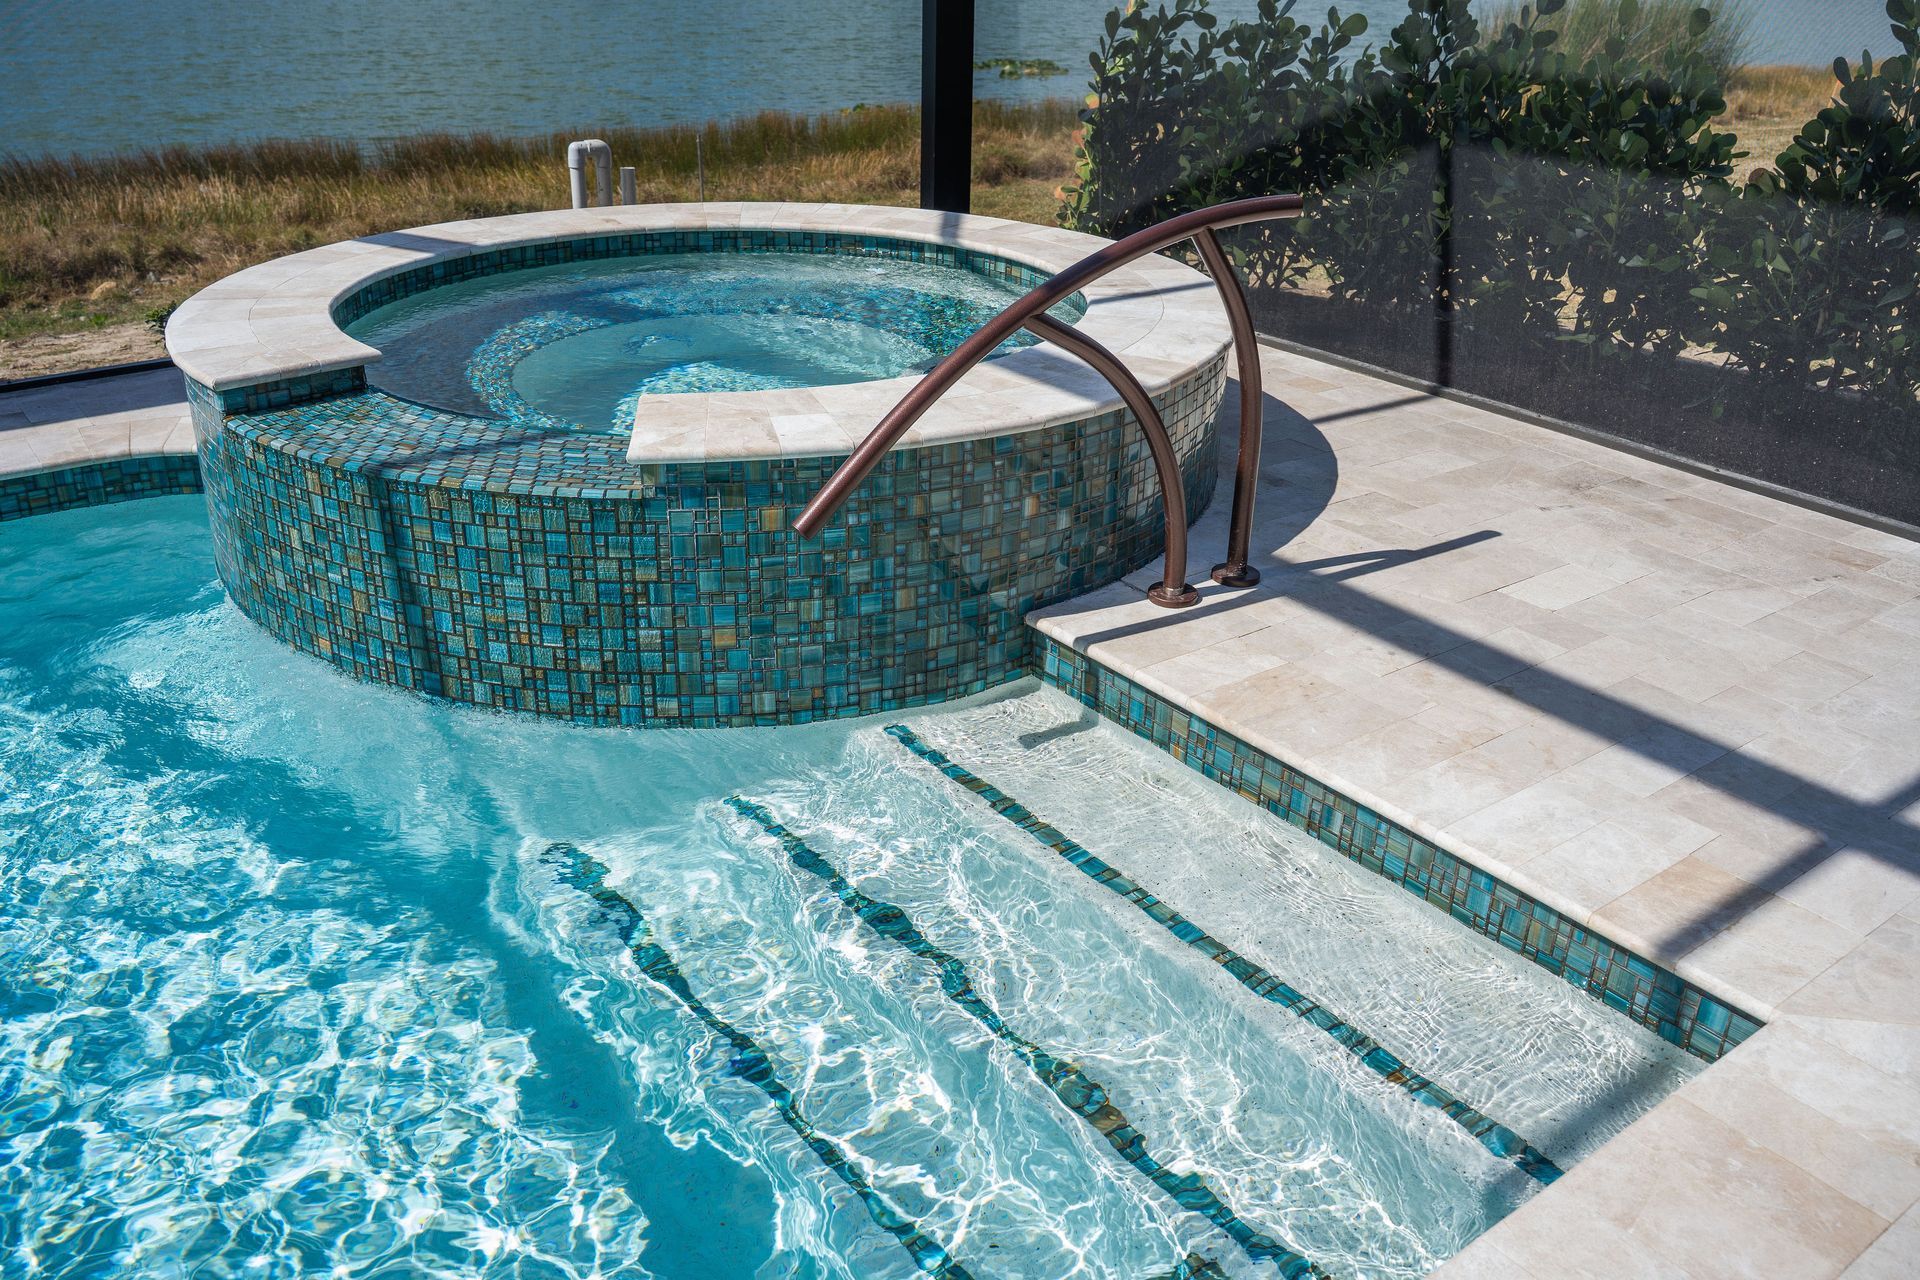
- Glass tile
- Natural stone accents
- Contemporary large-format tile
For coping, many Florida homeowners choose:
- Marble coping
- Porcelain coping
- Travertine coping
- Precast concrete coping
Installing tile and coping before the interior finish ensures clean transitions and creates the finished appearance homeowners envision.
Beyond aesthetics, these materials also help protect the pool shell from water intrusion and everyday wear while enhancing the overall outdoor living space.
Step 6. Pool Deck Renovation
Estimated Time: 3–10 Days
If your renovation includes updating the pool deck, this phase typically begins after the tile and coping have been installed.
Depending on your project, your contractor may install:
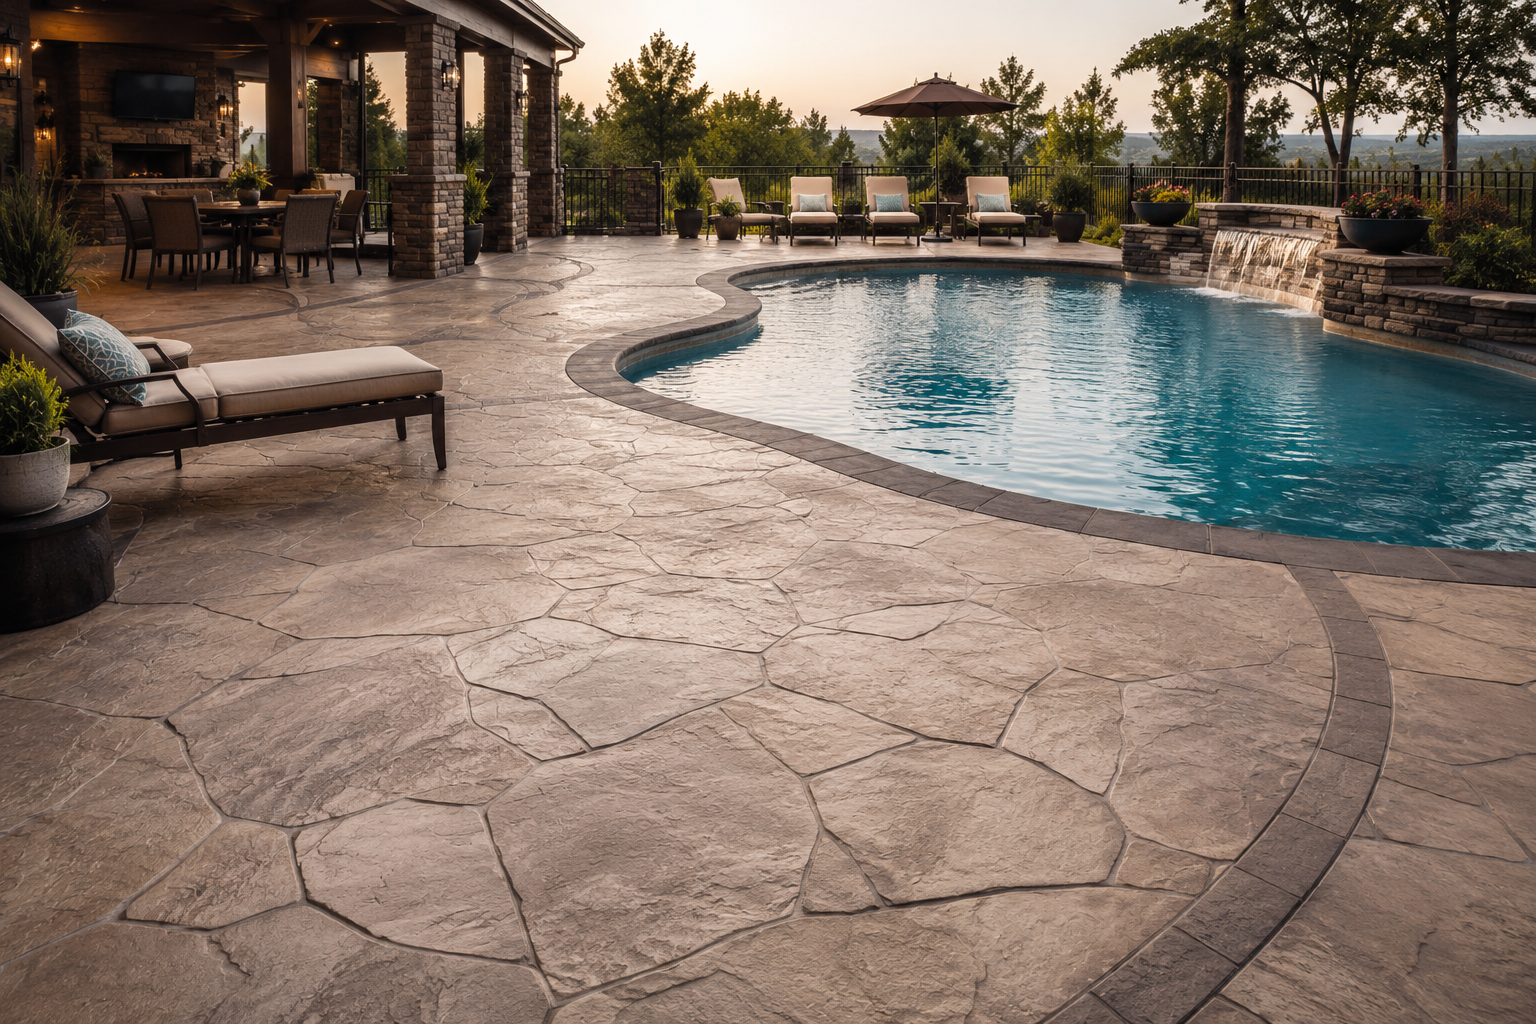
- Decorative concrete overlay
- Stamped concrete overlay
- Travertine
- Pavers
- Decorative concrete coatings
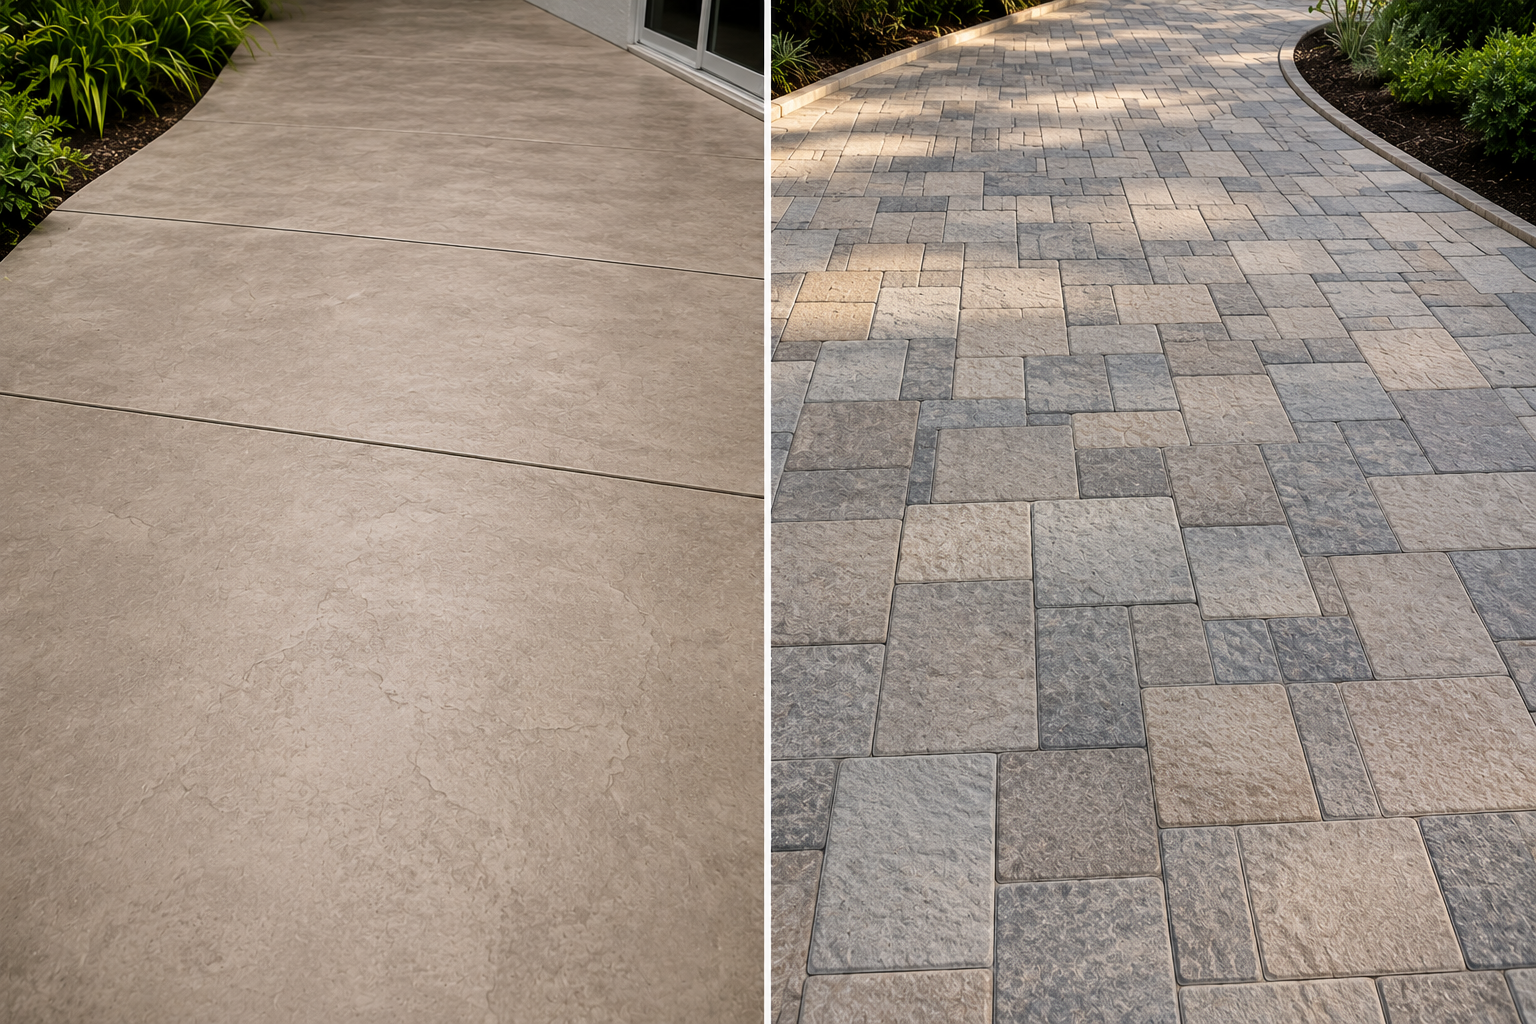
If your existing concrete deck is structurally sound, installing a decorative concrete overlay can often be a more cost-effective alternative to replacing the entire deck with pavers.
However, if the existing deck has significant movement, cracking, or drainage issues, replacing it with new pavers or another decking material may be the better long-term solution.
Deck renovations can dramatically improve the appearance of the entire backyard and are often one of the highest-value upgrades homeowners choose during a pool remodel.
Learn more about Decorative Concrete Overlay vs. Pavers for Florida pool decks.
Step 7. Applying the New Interior Finish
Estimated Time: 1–2 Days
Once all preparation work has been completed, the new interior finish can be installed.
Depending on your selections, this may include:
- White plaster
- Quartz finish
- Pebble finish
Although applying the finish usually takes only one day, it's one of the most critical stages of the entire renovation.
Professional installation, proper weather conditions, and experienced workmanship all play an important role in achieving a smooth, durable finish that will last for years.
Step 8. Filling the Pool & Startup

Estimated Time: 5–14 Days
Many homeowners believe the project is finished once the new finish is applied.
In reality, one of the most important phases is just beginning.
Proper pool startup protects the new finish while it cures and helps ensure the water chemistry remains balanced.
Startup service may include:
- Starting the equipment
- Water chemistry adjustments
- Daily or scheduled brushing
- Equipment programming
- System inspections
Ask your contractor how long startup service is included.
Some companies provide only the initial startup, while others monitor and balance the water chemistry for several days to help protect your investment and comply with manufacturer recommendations.
What Can Delay a Pool Remodel in Florida?
Even the best-planned projects can experience unexpected delays. Fortunately, many of these factors are outside the contractor's control and are a normal part of the remodeling process.
Florida Weather
Heavy rain, high humidity, and tropical weather can temporarily delay demolition, deck work, tile installation, or interior finish applications.
Some stages of the renovation require dry conditions to ensure proper installation and curing.
Hidden Structural Issues
Once demolition begins, contractors occasionally discover problems that weren't visible beforehand, such as:
- Hollow plaster
- Bond beam deterioration
- Plumbing leaks
- Damaged steps
- Swim-out bench repairs
Although these repairs may add a few days to the schedule, addressing them before the new finish is installed helps prevent much larger problems later.
Material Availability
Special-order products such as imported glass tile, porcelain coping, premium interior finishes, and automation systems may occasionally require additional lead time.
Choosing materials early in the planning process helps minimize these delays.
Change Orders
One of the most common reasons projects take longer is that homeowners decide to add work after construction has already started.
Examples include:
- Upgrading to premium tile
- Adding LED lighting
- Installing new automation
- Expanding the deck
- Adding a spa
- Installing water features
While these upgrades often improve the final result, they can also extend the project timeline.

Plan Your Pool Remodel with Confidence
A successful pool renovation is about more than just choosing new finishes—it's about understanding the process, planning ahead, and working with a contractor who communicates clearly every step of the way.
At Gold Standard Pools, we help homeowners throughout Sarasota, Bradenton, Venice, Lakewood Ranch, Punta Gorda, Port Charlotte, Englewood, and surrounding Southwest Florida communities understand exactly what to expect before construction begins. From material selection and demolition to startup service and final walkthrough, we focus on quality workmanship, transparent communication, and long-lasting results.
Whether you're planning a simple pool resurfacing or a complete backyard transformation, our team is here to guide you through every stage of the remodeling process.
Contact Gold Standard Pools today to schedule your professional pool remodeling consultation and receive a personalized project timeline.
 GET A FREE ESTIMATE NOW